Home
About
CV
More
Recent articles
Listening to Hi-Res Apple Lossless on the Cheap
3 years ago
A Language Learning Framework
5 years ago
How do I teach Listening?
7 years ago
Waterfall Lesson Planning
7 years ago
Tags
audio
cv
Cycling
Language Learning
music
Productivity
Teaching
Technology
Toggle light/dark mode
Sign up
Technology
7 posts with this tag
audio
Listening to Hi-Res Apple Lossless on the Cheap
3 years ago
•
4 min read
Teaching
Using Siri in the Classroom
12 years ago
•
1 min read
Technology
Why do interfaces always change?
14 years ago
•
1 min read
Language Learning
Great Lifehacker Post
15 years ago
•
1 min read
Productivity
Word Processor Search
15 years ago
•
2 min read
Productivity
Personal Development: Computer Style
15 years ago
•
1 min read
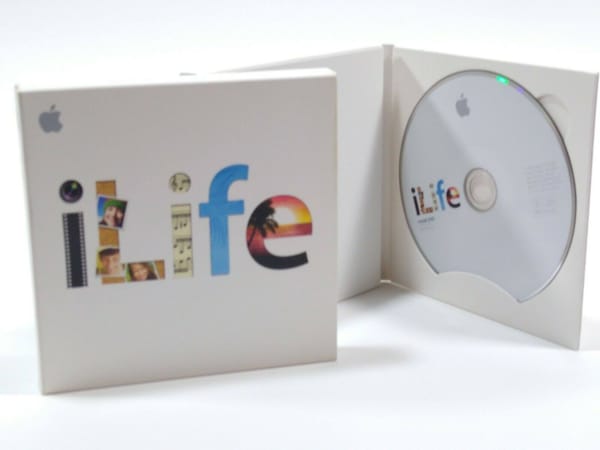
Language Learning
iLife, ESL, and the Past Tense
16 years ago
•
2 min read
Page 1 of 1